Drawing:oldj_7nsvxk= Skull has long been a fascinating subject for artists of all levels. Whether you’re aiming for a realistic portrayal or a stylized version, understanding the basics of skull anatomy and the techniques to bring it to life on paper is essential. In this guide, we’ll dive deep into the world of skull drawing, covering everything from basic shapes to intricate details, and even touch on some digital tools you can use to enhance your art.
Understanding Drawing:oldj_7nsvxk= Skull
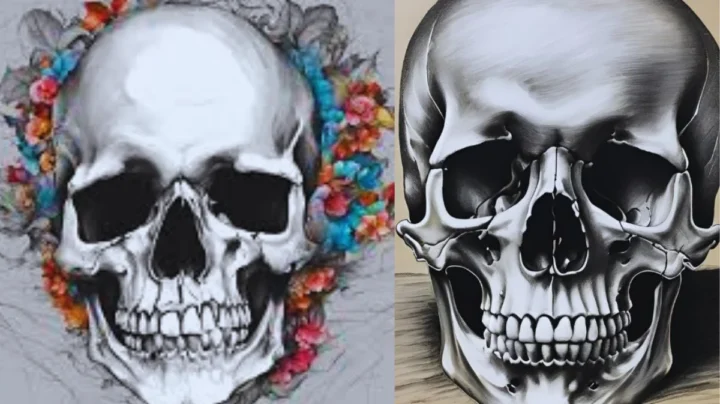
Before you put pencil to paper, it’s important to understand the structure of a Drawing:oldj_7nsvxk= Skull. The human skull is a complex structure made up of several bones, and capturing this accurately can make a huge difference in your drawing.
- The Cranium: This is the large, rounded part of the skull that houses the brain. It’s typically the first thing you’ll sketch out.
- The Jawbone (Mandible): The mandible is crucial for adding character to your skull drawing, especially when working with different expressions.
- Eye Sockets (Orbits): The eye sockets are key to getting the skull’s proportions right. They also help in positioning other facial features correctly.
- Nasal Cavity: This area adds depth and realism to the skull, helping it transition from a basic shape to a lifelike figure.
- Zygomatic Bones (Cheekbones): These bones define the face’s structure and are important for giving your skull that distinctive look.
Step-by-Step Guide to Drawing:oldj_7nsvxk= Skull
Start with Basic Shapes
- Begin with a simple circle to represent the cranium.
- Add a rectangular shape at the bottom to outline the jawbone.
- Lightly sketch in the centerline to help with symmetry.
Define the Major Features
- Mark the eye sockets with two ovals.
- Sketch the nasal cavity as an upside-down heart shape.
- Add the mouth area, keeping in mind the placement of teeth.
Refine the Shape
- Start refining the outline of the skull, focusing on the cheekbones, jawline, and forehead.
- Erase unnecessary lines and smooth out the contours.
Add Details
- Add the teeth, ensuring they follow the curvature of the jawbone.
- Draw the tiny details inside the eye sockets and nasal cavity.
- Include cracks or other textures to give the skull an aged look.
Shading and Texturing
- Use hatching, cross-hatching, or stippling to add depth to your skull.
- Focus on light sources, making sure the shadows fall naturally.
Read More: Indícame el camino a la tienda de alimentos más cercana
Techniques for Drawing:oldj_7nsvxk= Skull
Abstract Line Work
- Description: This technique involves creating a skull using abstract, continuous line work. Instead of focusing on realistic anatomy, you would use flowing lines to represent the Drawing:oldj_7nsvxk= Skull structure.
- How to Do It:
- Start with a single line that outlines the skull’s basic shape.
- Allow the line to flow naturally, incorporating curves and spirals.
- Focus on capturing the essence of the skull without worrying about exact proportions.
Glitch Art Skull
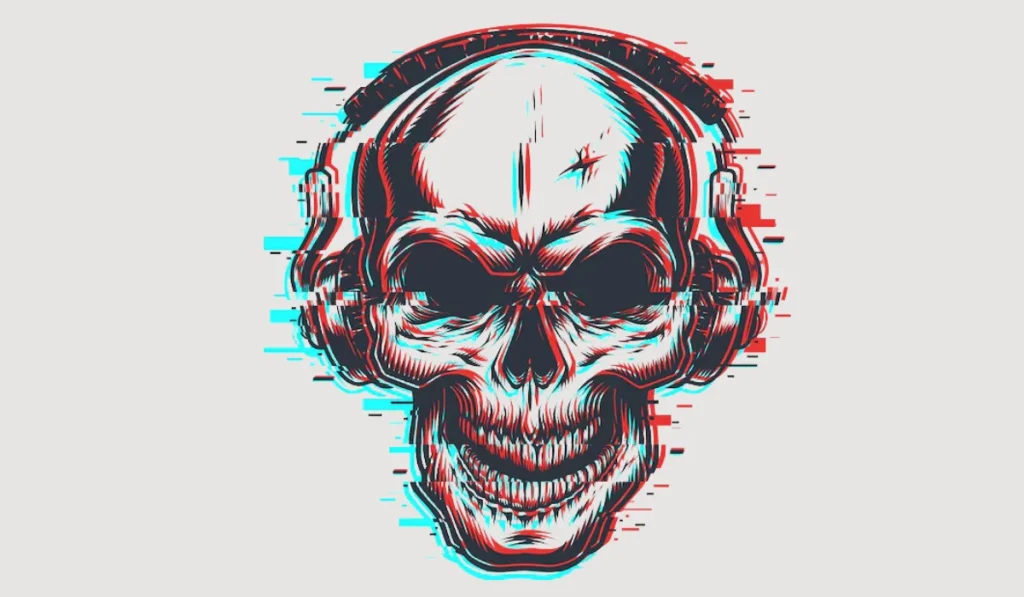
- Description: Glitch art involves intentionally introducing digital errors or “glitches” into your drawing. This can give the skull a distorted, surreal appearance.
- How to Do It:
- Draw a basic skull using any digital drawing tool.
- Use the “distort” or “glitch” filters to create random lines and color shifts.
- Adjust the opacity of certain layers to make parts of the skull appear fragmented or pixelated.
Geometric Skull Drawing
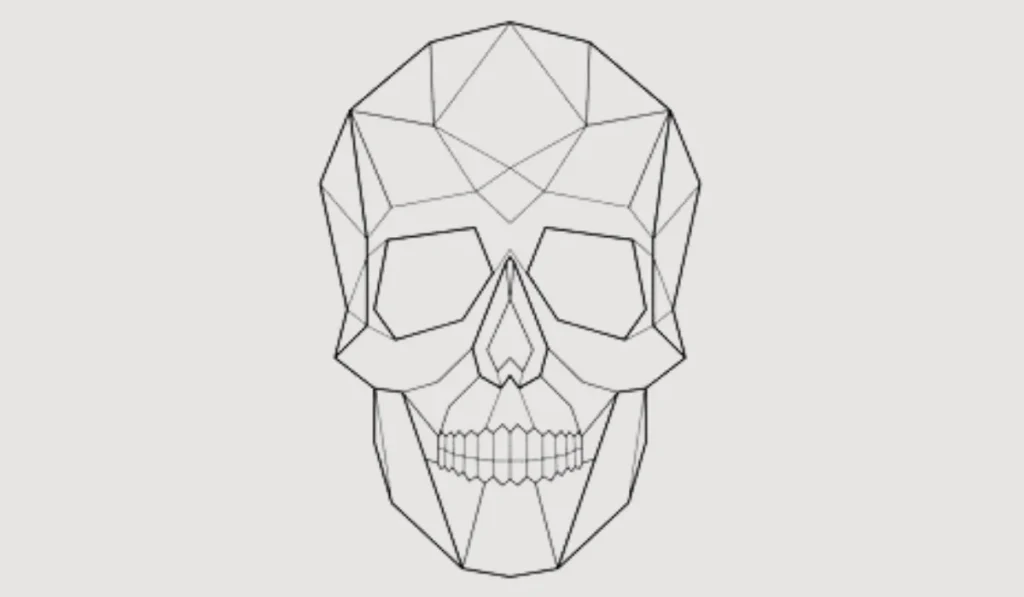
- Description: This technique simplifies the skull into geometric shapes, like triangles, squares, and circles. It’s an abstract approach that emphasizes form over detail.
- How to Do It:
- Begin by breaking down the skull into basic geometric shapes.
- Use straight lines and sharp angles to define the features.
- Keep the drawing minimalistic, focusing on the contrast between light and dark areas.
Layered Transparency
- Description: This digital technique involves layering different parts of the skull with varying degrees of transparency. It creates a ghostly, ethereal effect.
- How to Do It:
- Draw the skull in separate layers: one for the cranium, one for the jaw, etc.
- Adjust the transparency of each layer to create a sense of depth.
- Experiment with overlapping layers to achieve a spectral appearance.
Inverted Shading
- Description: Instead of shading in the traditional way, this technique involves inverting the light source and shading. The skull is shaded where light would normally fall, creating a surreal effect.
- How to Do It:
- Identify the light source and imagine it inverting. Shade the areas that would normally be illuminated.
- Leave the shadowed areas of the skull light, creating a stark contrast.
- This technique works particularly well with digital tools that allow easy adjustment of light and shadow.
Also Read: Tailoring Genai Products for Diverse Mobile Developer Personas
Digital Drawing: Leveraging Modern Tools
With advancements in digital art, tools like Procreate, Photoshop, and Clip Studio Paint have become popular for drawing. You might wonder, what does Drawing:oldj_7nsvxk= Skull have to do with digital art? While the keyword is unique, it might be referencing a specific style or file format in digital drawing platforms.
Tips for Digital Drawing:oldj_7nsvxk= Skull:
- Use layers to separate different parts of the skull for easy adjustments.
- Experiment with brushes that mimic traditional pencils or ink pens.
- Utilize symmetry tools to maintain balance in your drawing.
- Save your work in different formats (like PNG or PSD) to keep your options open for future edits.
Common Mistakes to Avoid
- Ignoring Proportions: Even a slightly off proportion can make your skull look unnatural. Always double-check your measurements.
- Overcomplicating the Drawing: Start simple. Adding too many details too early can overwhelm your composition.
- Poor Shading: Shading can make or break your drawing. Pay attention to the light source and apply shading accordingly.
Conclusion
Drawing:oldj_7nsvxk= Skull is more than just an artistic exercise; it’s a way to understand form, structure, and detail. Whether you’re sketching with pencil and paper or using advanced digital tools, mastering Drawing:oldj_7nsvxk= Skull can be a rewarding challenge that enhances your overall artistic skills. Remember, practice is key, and don’t be afraid to experiment with different styles and techniques.


Recent Comments